This article is the continuation of my mini-series on creating a custom template for a SharePoint site or Microsoft Team using Site Designs and a PnP template. The focus is on use of a C# function, since Microsoft's documentation shows use of PowerShell which is unlikely to be an option in future since it is not supported by Azure Functions v2. In this series:
- Part 1 - Azure queue, app registration, Flow, Site Design and Site Script
- Part 2 - the Azure Function, Key Vault, enabling Managed Service Identity, and the PnP template [this article]
Configuring the Azure Function for authentication
So we created the Function app in the previous article, but there is no code there yet - and we still have some config to do. It's still in preview here in early 2019, but I'm choosing to use the integration between Azure Key Vault and Azure Functions app settings for storing credentials (the app ID and app secret in this case). This is the thing where the credentials are stored in Key Vault, but you don't need to write any special code to fetch them (or indeed, modify any Azure Function code you already have) - instead, you use tokens in app settings which point over to the items in key vault. See the "Key Vault references for Application Settings" section of Simplifying security for serverless and web apps with Azure Functions and App Service. In general, this is a far better way of dealing with credentials than storing them in App Settings, because you can control exactly who can access them – in terms of users working with Azure and THINGS in Azure (e.g. particular App Services, or anything else with a Managed Service Identity).Step 1 – enable Managed Service Identity for your Function app
- In the Azure Portal, go to the “Platform features” area for your Function app and find the “Identity” item:

- Enable the “system assigned” managed identity:

- Click “Save” and then acknowledge the message which appears:

- Your Function app’s managed identity will now be registered:

I’m going to skim over this bit slightly, but the full documentation is at https://docs.microsoft.com/en-us/azure/app-service/app-service-key-vault-references if you need it.
- First, add the Client ID and Client Secret for your SharePoint app registration as secrets in the Key Vault. (N.B. If you don’t already have a Key Vault instance in your Azure subscription, you’ll need to create one). Choose any names you like, but mine look like this:

- For each of these, I need to obtain the full identifier. Do this by clicking into the current version of each secret once you’ve created it, and finding the “Secret Identifier” property:

- Copy these URI values as we’ll need them in a second.
- Next, grant access to these secrets to your Azure Function. Still in the Key Vault area, go into the “Access policies” area:

- Add a new policy:

- First, select the principal – here, you are searching for your Azure Function app by name:

then:
- Click the “Select” button once you’ve found it.
- Now we amend the “Secret permissions”:

- Check the “Get” option:

- Finally, click “OK” to confirm the permissions:

In the App Settings for my Function, I need to use the convention of @Microsoft.KeyVault(SecretUri=secret_uri_with_version) to point to my credentials stored securely in Key Vault. So having obtained the URI for each of my secrets in earlier steps, I add entries like these with the App Settings key names used in my code. For each one, value of secret_uri_with_version is the URI for the appropriate secret:


The Azure Function
The final piece is the Azure Function - the core code for this is below, but you can also download the full project from the Github project linked at the end. Some notes about the code:- As noted in the previous article, we’re using SharePoint app-only authentication to talk to SharePoint - and the auth code reflects that. You'll need to use alternative PnP AuthenticationManager methods if you choose to use AAD app-only authentication with a certificate
- I use a separate class to slightly abstract away the Client ID and Client Secret, but it's simply a class with a property for each one. Feel free to create one, or just use local variables instead
The PnP template
For completeness, here's a simple PnP template to illustrate the integration - it provisions a modern home page with specific web parts, a content type and a document library, and also adds an entry to the web property bag:The result
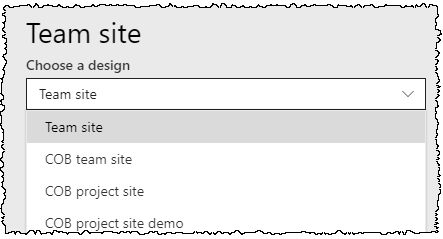
Once everything is in place, you have a great self-service Teams or SharePoint site provisioning process for your organization - you can configure the sites in just about any way possible between Site Designs and PnP templates.For use with Teams/Office 365 Groups, you can set the default Site Design to be applied for team sites, and your templates will be invoked. For standalone SharePoint sites, users can request a new site from the SharePoint home page:

Your custom Site Design will appear in the list:

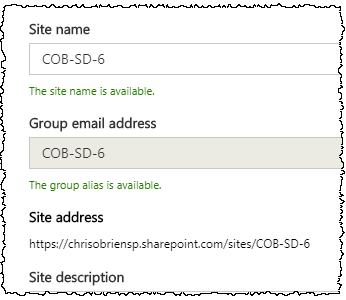
..and then the details of the site are collected:

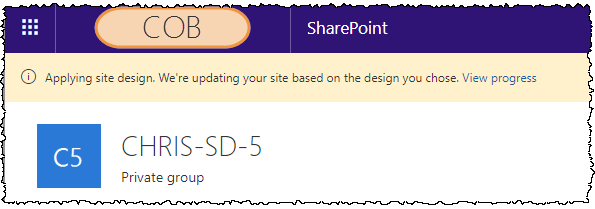
Once the user hits the “Create site” button, the site will be created and Office 365 will indicate that the Site Design and associated templating is taking place:

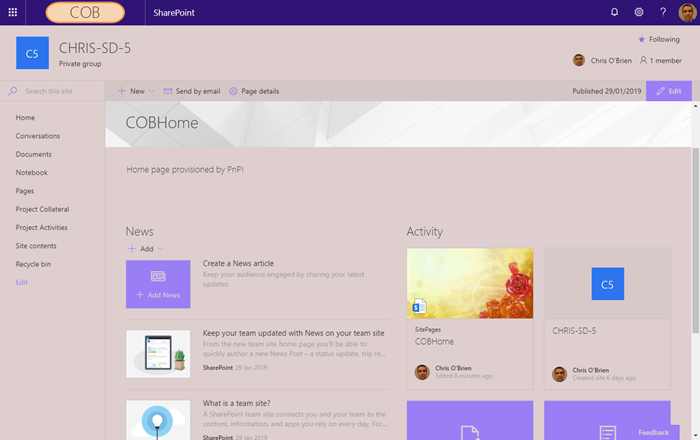
After a few seconds the site will be available, and both your Site Design and PnP template will have been applied. In my case, I have:
- From my Site Design:
- A content type, document library and navigation links
- Application of my “COB purple” modern theme
- From my PnP template:
- A custom modern home page with specific web parts in specific zones
- Regional settings applied to the site
- Another custom document library, for good measure
- A property bag entry
- Request access settings applied

Summary
Integrating PnP templating with a SharePoint site design is slightly involved, but the power it brings in terms of being able to template both sites for Microsoft Teams and standard SharePoint means it's an important technique. Importantly, the use of PnP means that you can configure the sites in ways which aren't currently possible with Site Designs alone. Hopefully this guide is some use towards understanding the mechanisms. As I mentioned previously, all the files used here can be downloaded from:
https://github.com/chrisobriensp/SiteDesignsAndPnPTemplating


No comments:
Post a Comment